

Spokecards are silly.
You either love them or hate them. Regardless, they are a very inexpensive and tangible item to give away to friends / riders.
Here is a step by step guide on how to make these things :
 1. When making your spokecard on the computer, make sure you think about what the BACK of your card will look like. An 8.5 x 11 piece of paper can fit four good sized spokecards if you want them double sided. (Double sided looks waaaaay better than single.)
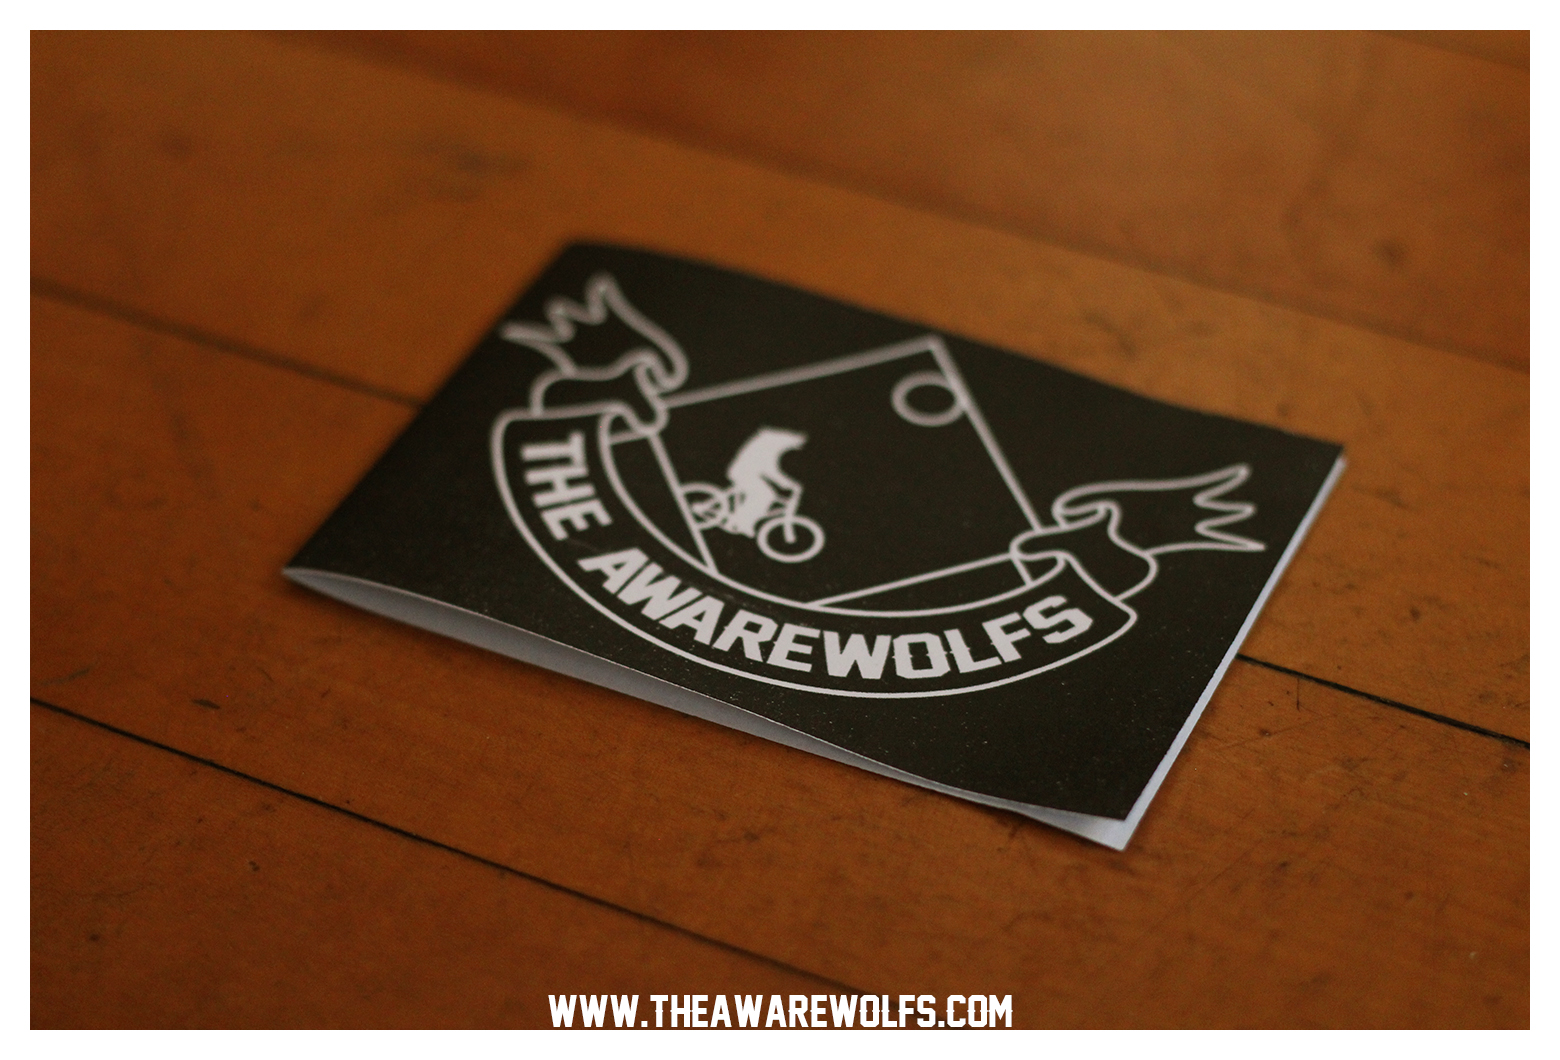
2. Cut out your design and fold in half.
 3. Laminate them. Lamination paper comes in all different sizes and pockets. Some as small as business cards all the way up to 11×17. We used 8.5×11 and after the spokecards are cut out, you can fit about six comfortably in a 8.5×11 lamination sleeve. You don’t want to put the cards too close together to ensure you get a good heat seal.
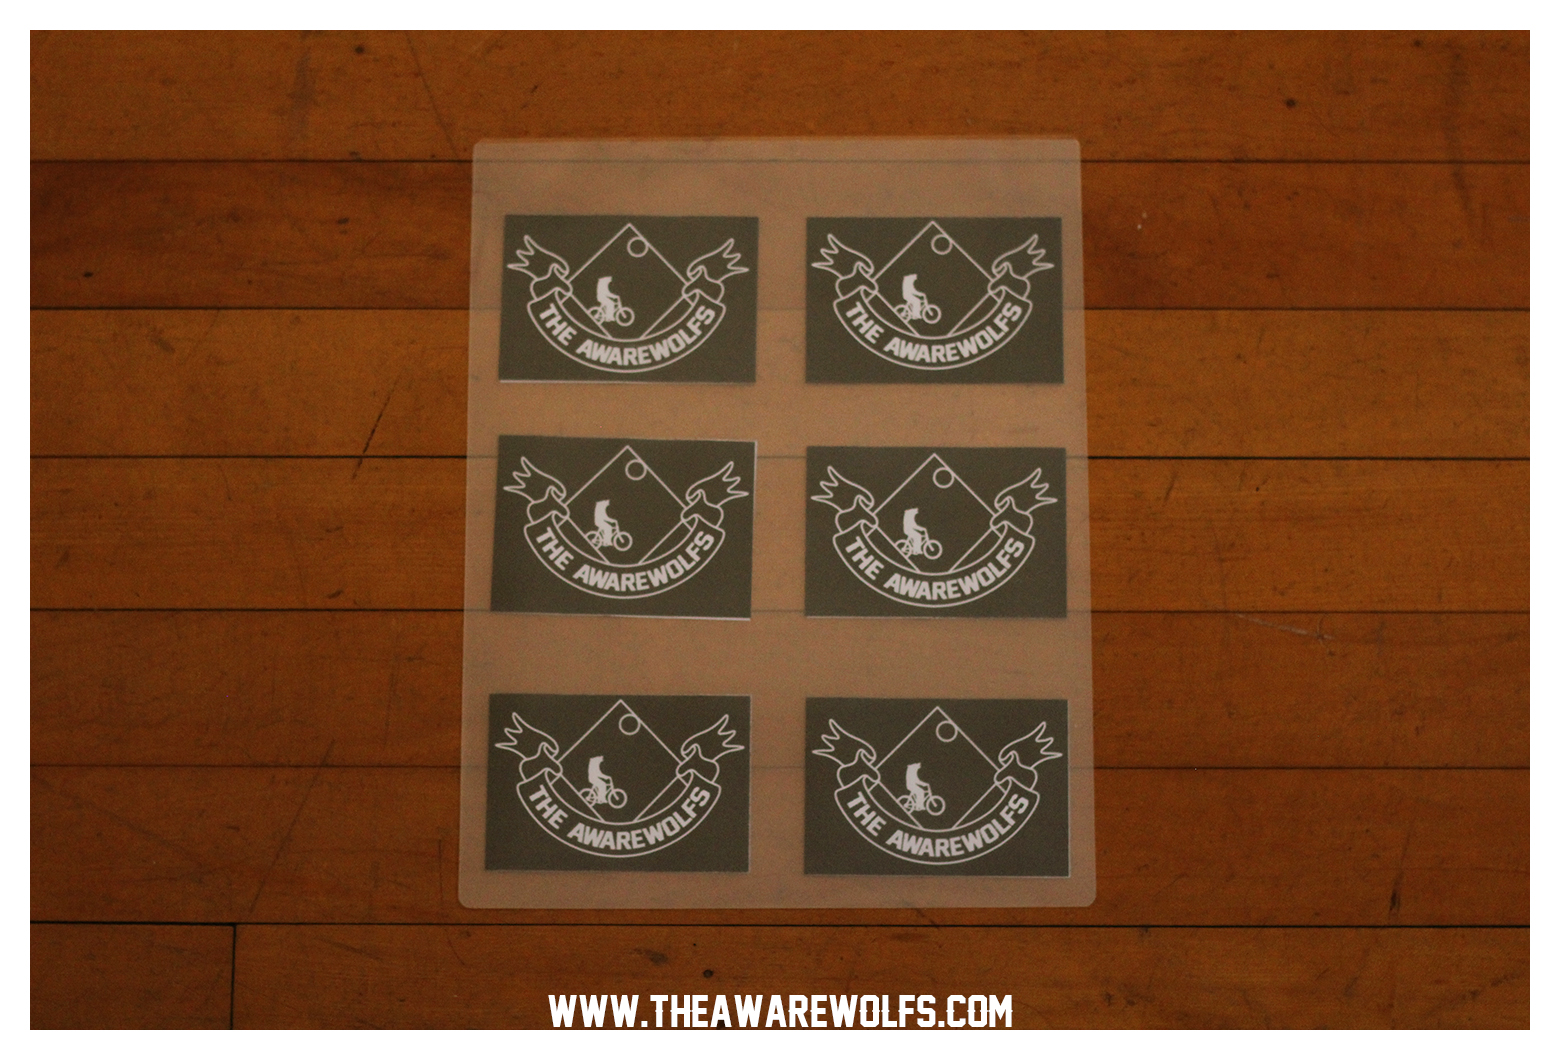
4. This is how they look once they are laminated.
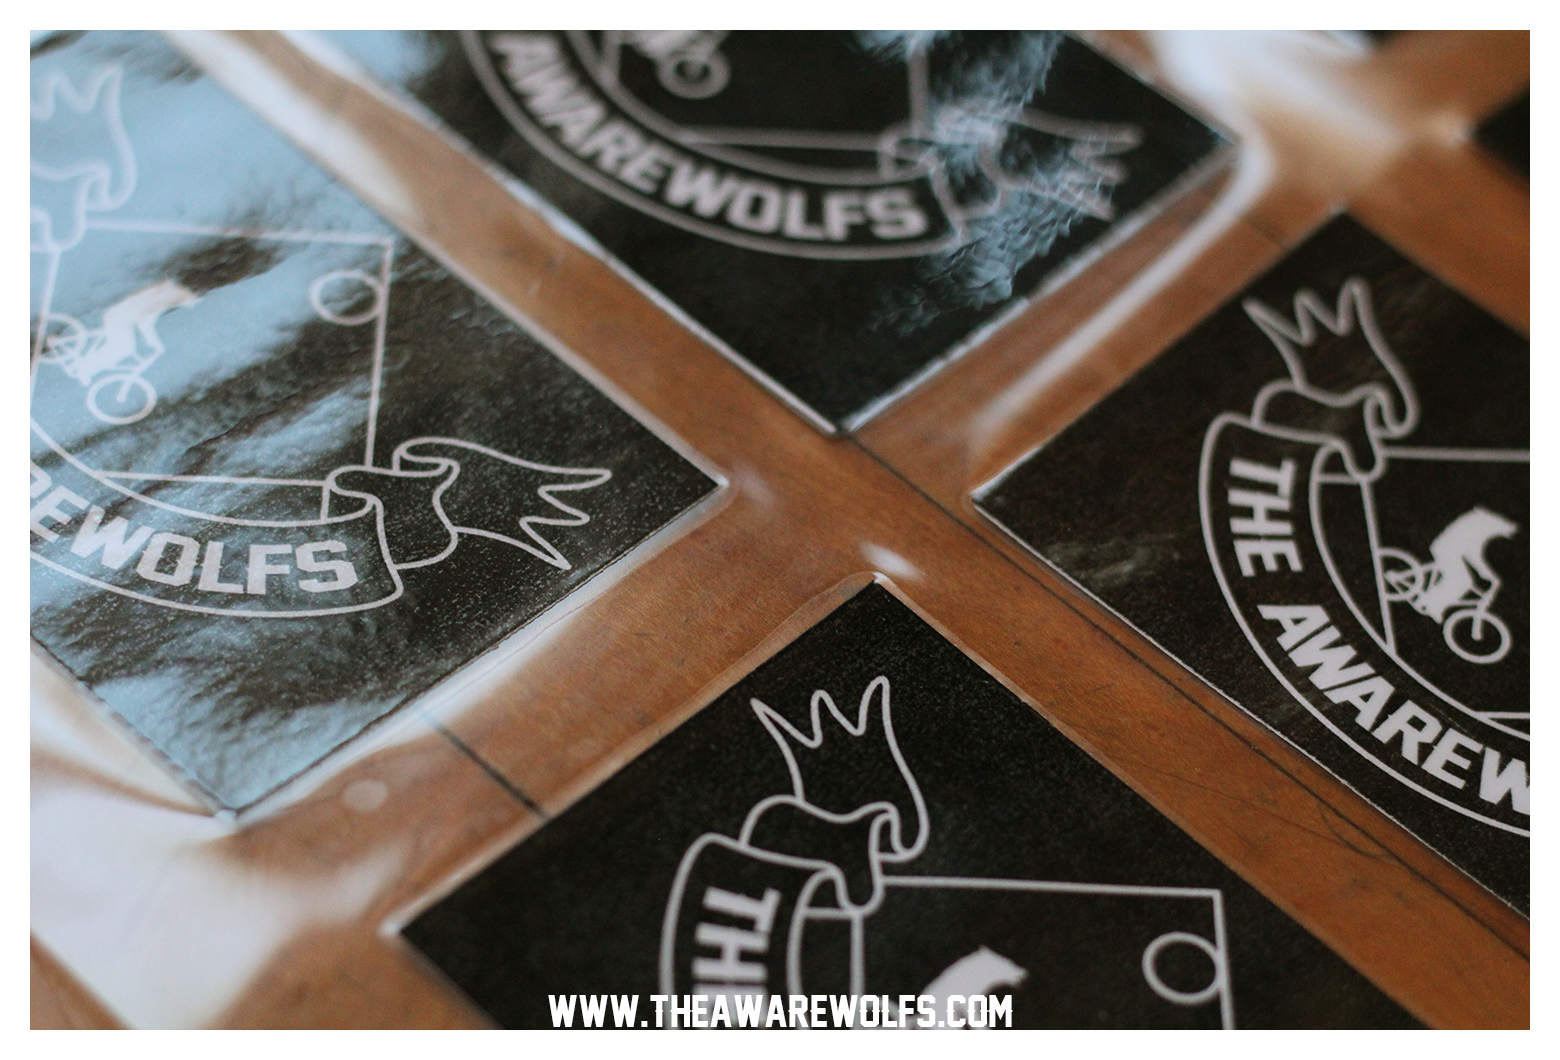
5. See those air pockets next to the edge of the black paper? You have to cut past that. If you cut in to the air pocket, when the card gets wet, it will fade and bleed. Leave a good border around the air pocket and get to cutting!

6. FIN.
Easy huh?
They can be tedious though. Check out the 290 cards made for TECATE MADNESS!

Hope you enjoyed. Be safe out there.

Thanks for this. Helps me create some spokecards for East Bay Bike party, in the Bay Area.
Cheers!
Thanks and glad to hear!